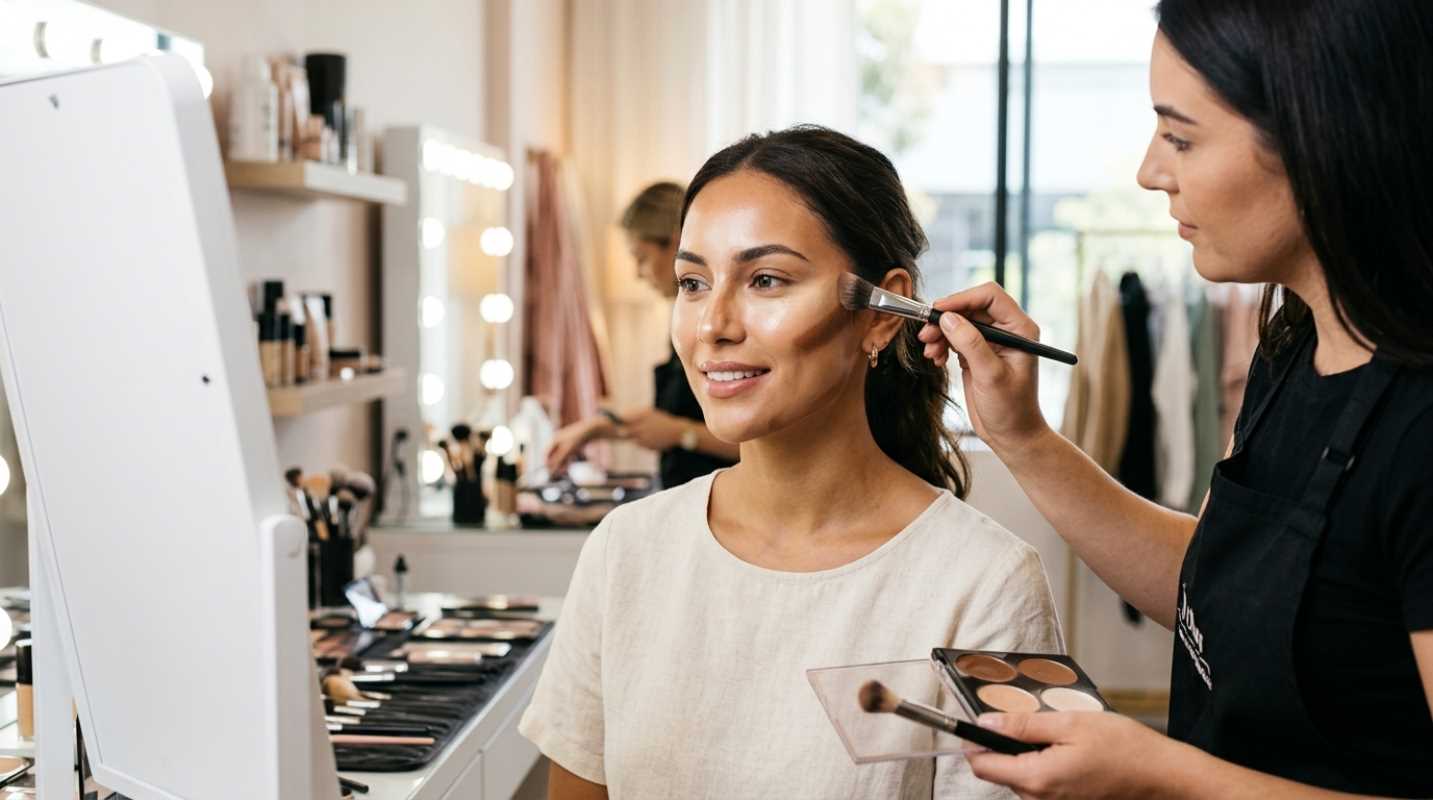
Remember the mid-2010s when contouring meant painting thick, muddy stripes on your face and hoping for the best? Have you been there, staring in the mirror, looking more like a theatrical performer than a human being?
Thankfully, makeup has evolved. In 2026, the heavy, high-contrast look is officially a thing of the past. Today, we are embracing hyper-natural modern contouring and softly snatched complexions.¹
The focus is on respecting your natural bone structure and blending seamlessly to improve what you already have. As award-winning makeup artist Lan Nguyen-Grealis explains, contouring now complements the your-skin-but-better trend, focusing on blending to improve rather than mask.²
Mastering this technique is like unlocking a personal makeup superpower. We want to bring out your favorite features and give you a quick confidence boost. Let us look at how to make this work for your unique face.
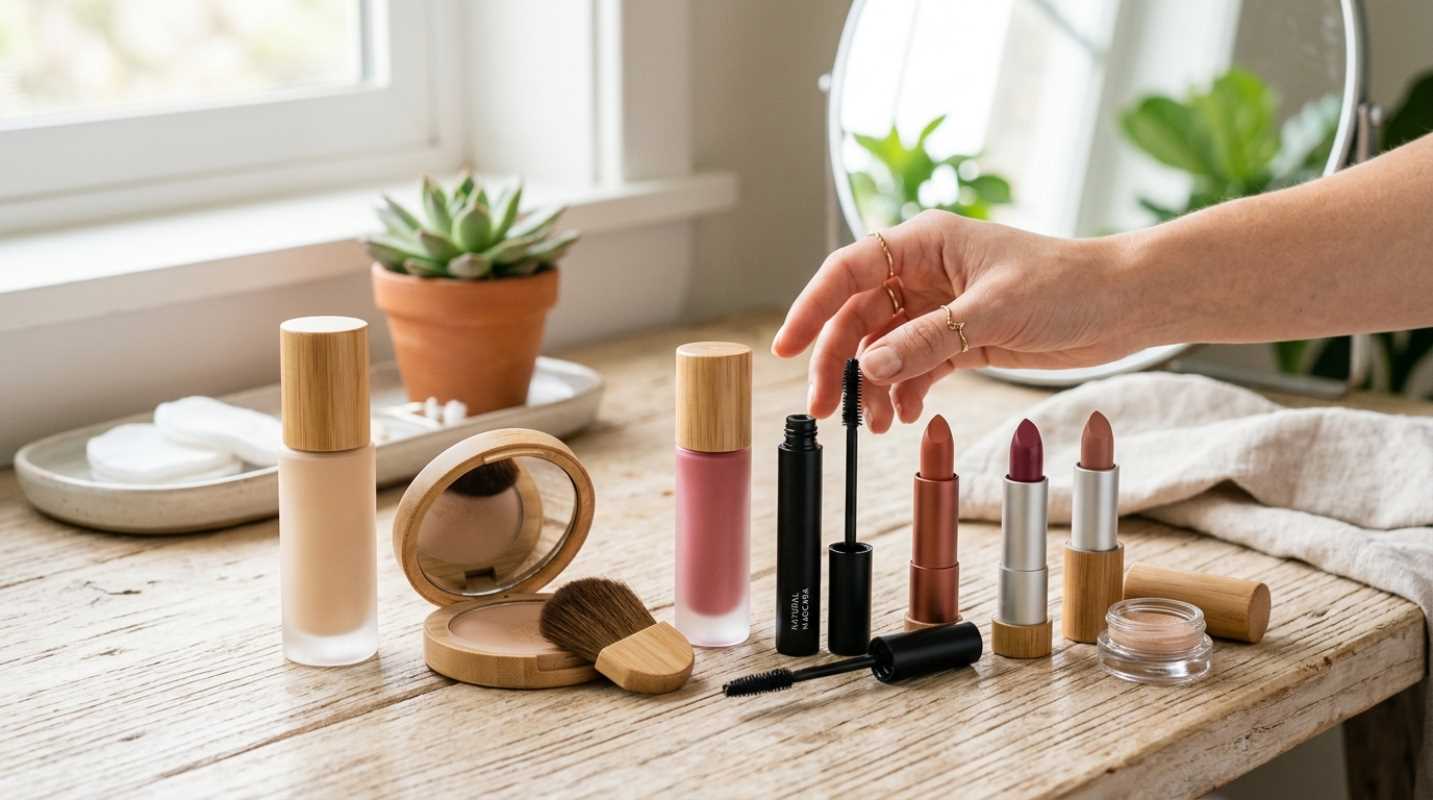
The Neededs Tools for a Flawless Finish
Before you grab a brush, you need the right toolkit. The products you choose can make or break your look.
For most skin types, cream and liquid sticks are the absolute best choice. They melt into the skin and mimic natural texture. Powder products still have a place, especially if you have very oily skin, but they can sometimes look dry or heavy.
Then there is the golden rule of shade selection. Your contour product must have cool, gray, or neutral undertones to mimic natural shadows. Warm-toned products like bronzers are meant to add a sun-kissed glow, not to sculpt. If you use a warm bronzer to contour, you will end up looking muddy.
For blending, you will want a dense, angled synthetic brush for creams, or a fluffy, tapered brush for powders. A damp beauty sponge is also fantastic for melting everything together.
Here are the top professional products that makeup artists swear by for a seamless, natural sculpt
• Westman Atelier Face Trace, A creamy, clean contour stick that blends effortlessly.
• Dior Forever Skin Contour Stick, Perfect for precise application and a skin-like finish.
• Victoria Beckham Beauty Contour Stylus, Ideal for detailed sculpting, especially around the nose and eyes.
• Pat McGrath Labs Skin Fetish Highlighter + Balm Duo, A double-ended stick that delivers a wet, dewy glow without any glitter.
Decoding Your Face Shape
How do you figure out your actual face shape? It is easier than you think.
Pull your hair back, look straight into a mirror, and trace the outline of your face on the glass with an old lip liner or dry-erase marker. Once you step back, you will see one of five primary shapes
• Oval, Your face is slightly longer than it is wide, with a softly curved jaw.
• Round, Your face is about as wide as it is long, with soft, rounded features.
• Square, Your forehead, cheekbones, and jaw are roughly the same width, with a sharp, angular jawline.
• Heart, Your forehead is the widest part of your face, tapering down to a narrow, pointed chin.
• Diamond, Your cheekbones are the widest point, while your forehead and jawline are both narrow.
The basic rule of light and shadow is simple. Dark shades make areas recede, while light shades bring them forward. We are using these rules to balance your natural proportions without masking your beauty.
Step-by-Step The Ultimate Highlight and Contour Guide
Now that you know your shape, let us map out exactly where to put your products. Remember to blend as you go to avoid any harsh lines.
Oval Face Shape
Oval faces are already naturally balanced, so your goal is simply to add soft, elegant dimension.⁵
1. Apply a small amount of contour along your hairline and the sides of your forehead to slightly shorten the face.
2. Sweep your contour just under the cheekbones, starting from the ears and stopping halfway down the cheek.
3. Apply your highlight to the center of your forehead, the bridge of your nose, and the center of your chin.
4. Blend everything upward to lift your cheekbones and keep the look fresh.
Round Face Shape
For a round face, the goal is to create the illusion of structure, define your jawline, and elongate your face.⁵
1. Sweep contour along your temples and the sides of your forehead, forming a C shape to narrow the upper face.
2. Apply contour under your cheekbones, angling down toward the corners of your mouth, but stop two finger-widths away.
3. Blend contour along your jawline and slightly underneath to chisel the jaw.
4. Highlight vertically down the center of your forehead, the bridge of your nose, and the center of your chin to draw the eye upward.
Square Face Shape
If you have a square face, you want to soften those sharp, angular features and round out your strong jawline.⁵
1. Apply contour to the upper corners of your forehead along your hairline to minimize width.
2. Focus your contour on the sharpest points of your jawline, blending downward onto your neck to soften the angle.
3. Shade lightly under your cheekbones, curving slightly upward toward your temples.
4. Apply highlight to the center of your forehead, under your eyes in an upside-down triangle, and the center of your chin to draw focus inward.
Heart Face Shape
For heart-shaped faces, the goal is to soften a wide forehead and balance a prominent, pointed chin.⁵
1. Apply contour to the sides of your forehead and temples to visually narrow the top half of your face.
2. Shade the very tip of your chin to soften and slightly shorten the point.
3. Highlight the center of your forehead and the bridge of your nose.
4. Apply highlight along your jawline to add width and balance the narrow lower half of your face.
Diamond Face Shape
With a diamond face, you want to soften prominent cheekbones and bring balance to your narrow forehead and jawline.⁵
1. Apply contour strictly to the widest part of your cheekbones, blending slightly downward to reduce their prominence.
2. Avoid contouring your forehead or jawline, as they are already naturally narrow.
3. Highlight the center of your forehead and the center of your chin to create the illusion of width.
4. Apply highlight to the hollows of your temples and the lower jaw to fill out those narrow areas.
Pro Tips for a 2026 Glow
Want to make your makeup look like it was done by a professional? It comes down to a few expert techniques.
First, try the underpainting technique. Popularized by celebrity makeup artists, this involves applying your cream contour and highlight directly onto prepped skin underneath a sheer layer of foundation or skin tint. This creates an incredibly natural shadow play that looks like it is coming from within your skin.
Next, remember the two-finger rule. When contouring your cheekbones, never bring the product closer to your nose than the width of two fingers. Bringing it too close to the center of your face can drag your features down and make you look tired.
Always blend upward, never downward. To keep your face looking lifted, blend your cheek contour upward and outward toward your hairline. Blending downward will make your cheeks look saggy.
Finally, ditch the heavy, glittery powder highlighters. For a truly modern, expensive-looking highlight, choose balms or cream highlighters with a wet or dewy finish. They catch the light naturally without highlighting skin texture.
Own Your Look
At the end of the day, makeup rules are just guidelines, not laws. Your face is unique, and the best way to find what works is to play around with different placements.
Spend a quiet Sunday afternoon experimenting in front of a mirror with natural light. Try underpainting one day and a classic cream-over-foundation application the next. See how the light catches your cheekbones when you blend a little higher or lower.
Makeup is a creative tool for self-expression, so have fun with it. Grab your favorite contour stick, find your light, and own your gorgeous, custom-sculpted look.
Sources:
1. marieclaire.co.uk
https://www.marieclaire.co.uk/beauty/make-up/contouring-trend
2. harpersbazaar.com
https://www.harpersbazaar.com/uk/beauty/make-up-nails/a63590233/contouring-makeup-trend/
5. janeiredale.com
https://janeiredale.com/blogs/makeup-blog/contour-for-your-face-shape